‘Twas the Sunday before Christmas, and time for brunch!
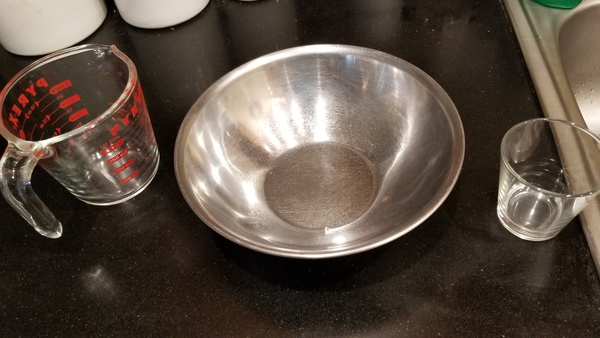
Start by separating eggs. Whites go in the mixing bowl. Yolks go in the measuring cup. The small glass is my way of separating eggs without major disasters.

After you separate the eggs, use an electric mixer to whip the egg whites. The key is to get as much air as possible in there to make them fluffy.
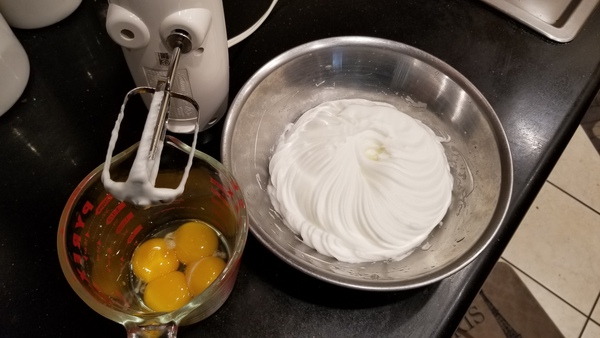
After beating the egg whites, set them aside. I put them in the refrigerator to keep them cold, but don’t forget about them later! Remove one beater from the mixer if your measuring cup won’t accommodate the two beaters.
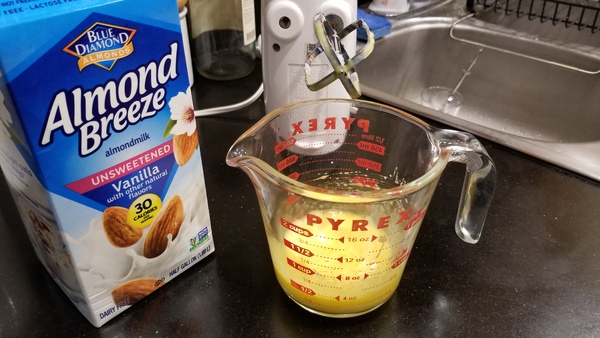
Beat the egg yolks. Then add milk. We use almond milk in the house. I don’t notice a difference from cow milk as far as the finished product.
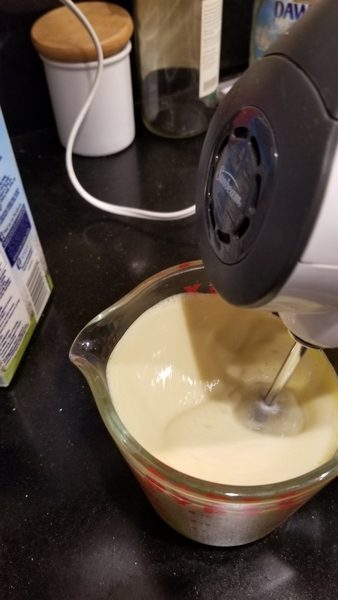
Beat the yolks and milk together, being careful not to spill.
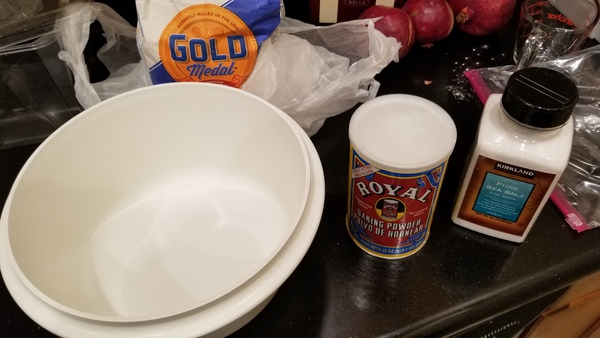
Assemble your dry ingredients.
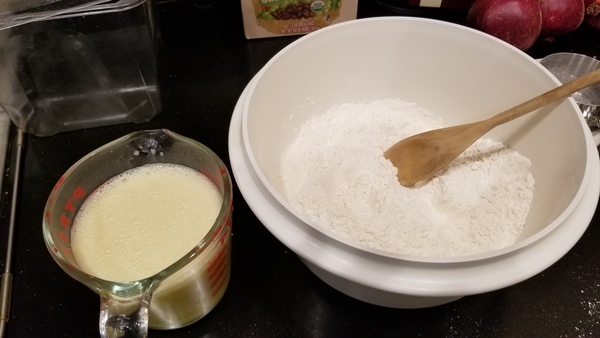
Getting ready to add the yolk/milk mixture to dry ingredients. Be sure you mixed up the dry ingredients first, so the baking powder is distributed through the flour.
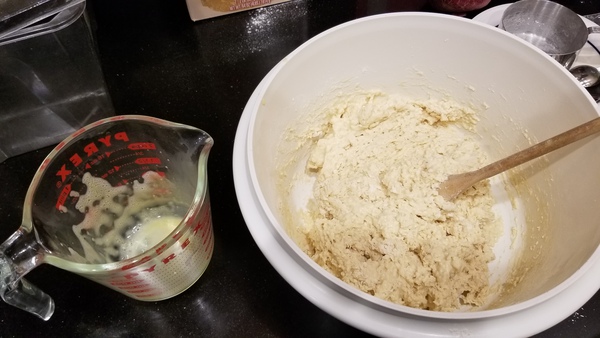
After you mix in the yolk/milk mixture, you’ll have something dough like.
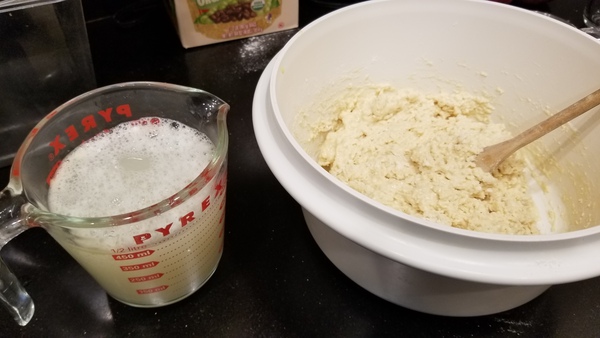
I use about 2C of water to add to the dough-like mixture. It’s important to add about 1/2C at a time. You want it to gradually thin. If you added all the water, it would end up as lumpy batter. Stirring the thicker batter helps to smooth it out.
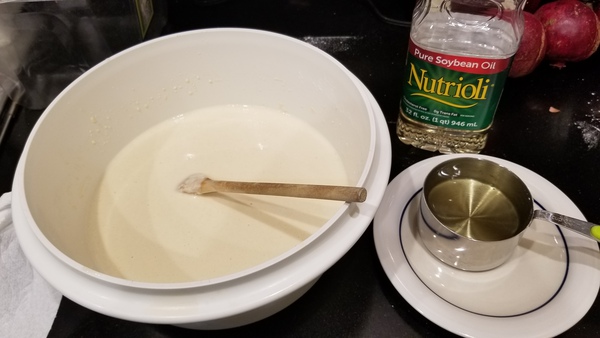
When you have something that is like a thin-ish pancake batter, add oil. This keeps the batter from sticking to the waffle iron. You’ll still need to spray the waffle iron with cooking spray, too.
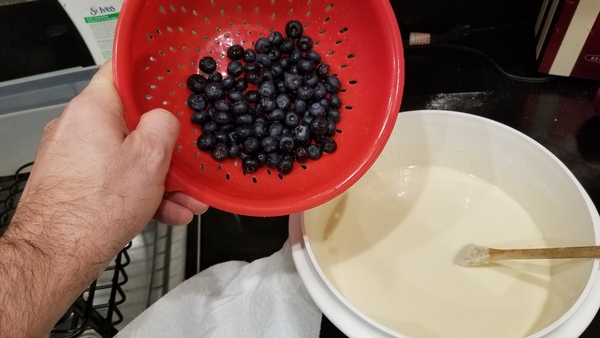
We like to add blueberries. I’ve tried other berries, but most stick to the waffle iron badly.
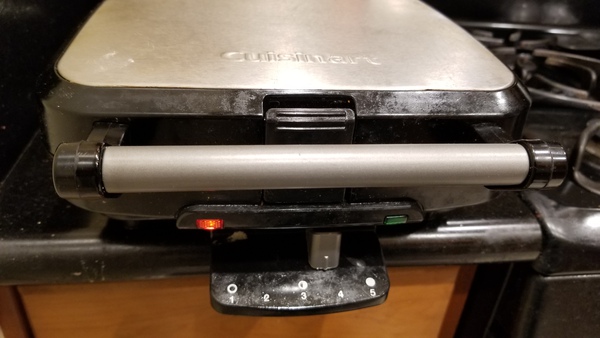
Plug in your waffle iron and set for your favorite temp to properly brown the waffles.
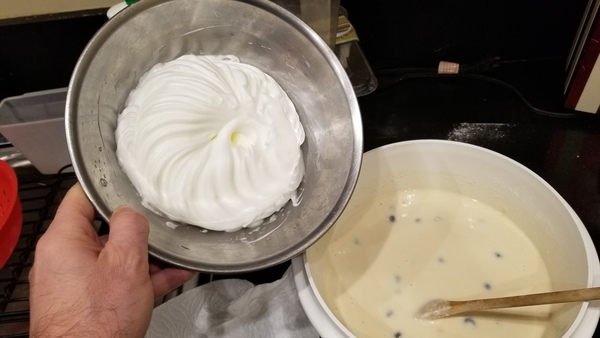
Remember those egg whites from earlier? Time to fold them into the batter. Don’t overdo it.
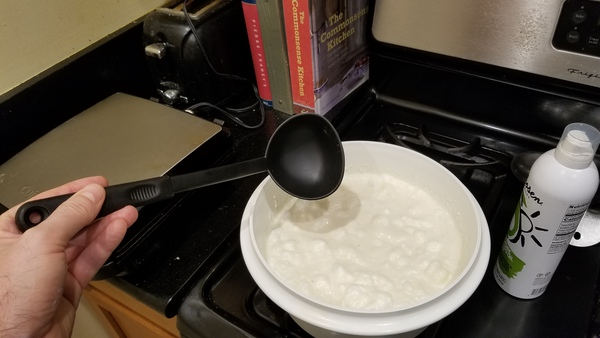
Mixed properly, your waffle batter should look like this.
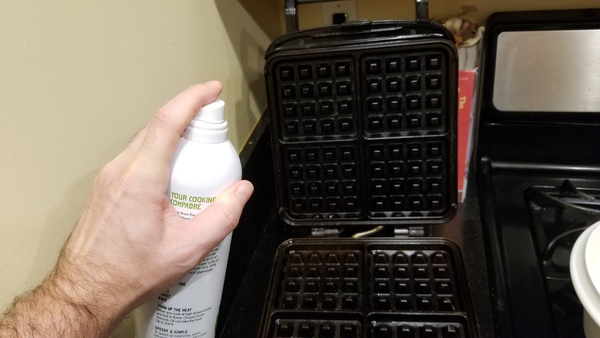
When the iron is hot, coat top and bottom with cooking spray. Not too thick but more if you have berries or something in the batter that might stick to the iron.
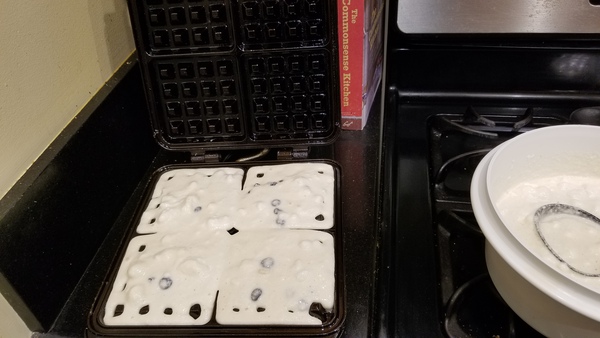
Ladle the batter into the waffle iron. Be careful not to add too much, or it will seep out the sides onto the counter as it bakes and expands.
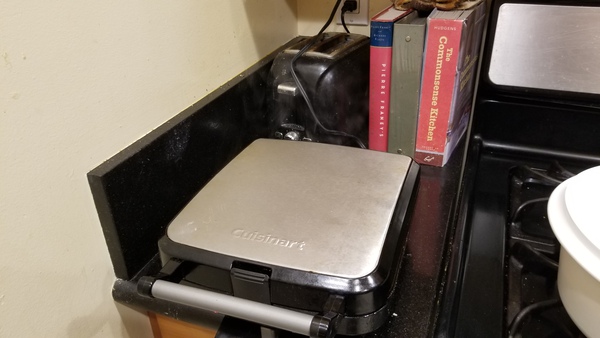
This was steam coming off the waffle iron as the waffles cook, but you can’t really see the steam in the picture.
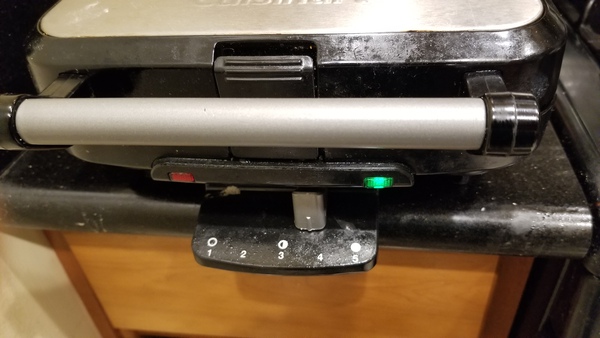
When the waffle iron beeps, they are ready!
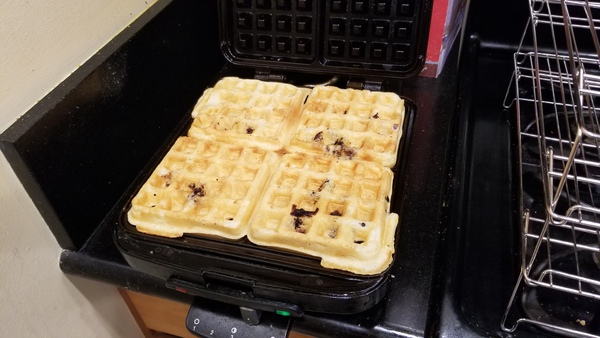
If all went well, your waffles are ready to eat!
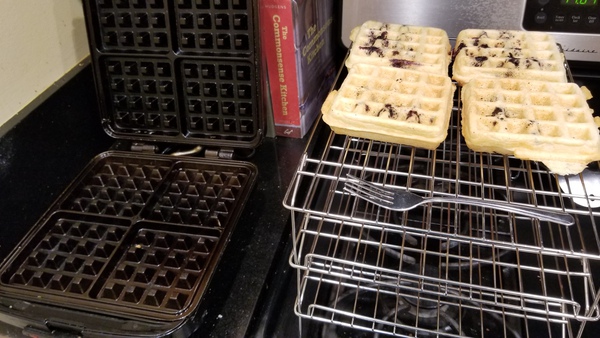
If you don’t have hungry mouths ready to eat, place the waffles on cooling racks. Don’t stack them on one another, or they may get soggy.
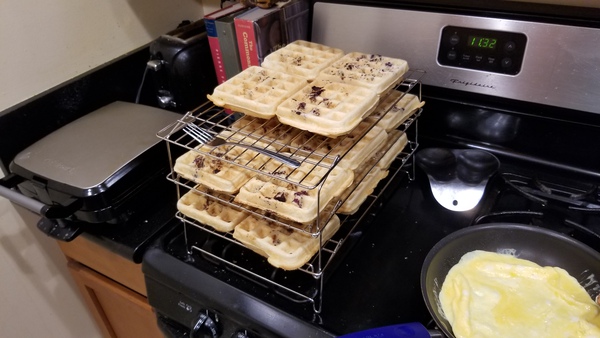
One batch makes four “flats” of waffles in my waffle iron. Yum!

And Sunday brunch is ready to eat, next to the Christmas tree.

Waffles and omelettes, ready to eat. Thanks for joining us for Sunday brunch!